Crochet elephant, another Ed’s animal

These animals from Kerry Lords’ Edward’s Menagerie pattern collection are endlessly brilliant! Previously I adapted the zebra pattern to make a unicorn, and my friend Susan commissioned two from me for her daughter and her friend. When Sooz told me she was expecting another baby it seemed logical to me that an elephant and a unicorn would make a pair, and as it happened I had this ball of grey yarn stashed which is super beautiful!

IMG_9026

It looks almost like marble when it’s crocheted up and has a very dense, cozy texture like a snuggly felt. I must confess to losing the ball band, but I think it was Rowan tweed of some kind. I went looking for some more recently but I couldn’t see the right colour way, I’m hoping it pops back up in the summer so I can make some more marble-y creatures. (Perfect for the constant stream of pregnant, minimalist, Scandi colleagues I have at COS HQ.)

IMG_9033

I crocheted the unicorns’ tail, but it went all whirly like a cartoon piglet and I wasn’t too happy with it. (Although, to be fair no one can dispute the potential accuracy of my unicorn tail, so who cares?!) To improve on that for the elephant tail I dug out a lucet. Now, I honestly try very hard not to be a hoarder; but when you realise you’ve been keeping not one but two medieval braid tools in your home for at least 15 years you clearly have a problem.

For those of you who didn’t spend your formative years accumulating the stock of every single stall at the craft fair, this is a lucet:

IMG_9031

It makes a simple square braid by wrapping yarn around the prongs and lifting the loops over, similar to a knitting dolly if I remember rightly. There are plenty of tutorials on youtube, which is how I refreshed my memory on how to use this, or you could follow a pictorial tutorial like this one from the pertinent website lucets.com.

IMG_9035

The finished guy has charmed everyone, most of whom pop their little finger up his trunk which seems faintly inappropriate. He’s also been well received at the home of new arrival Elijah Curtis and I hope he gets dragged around for years to come until he’s super gross, a bit threadbare and missing some appendages.

IMG_9028

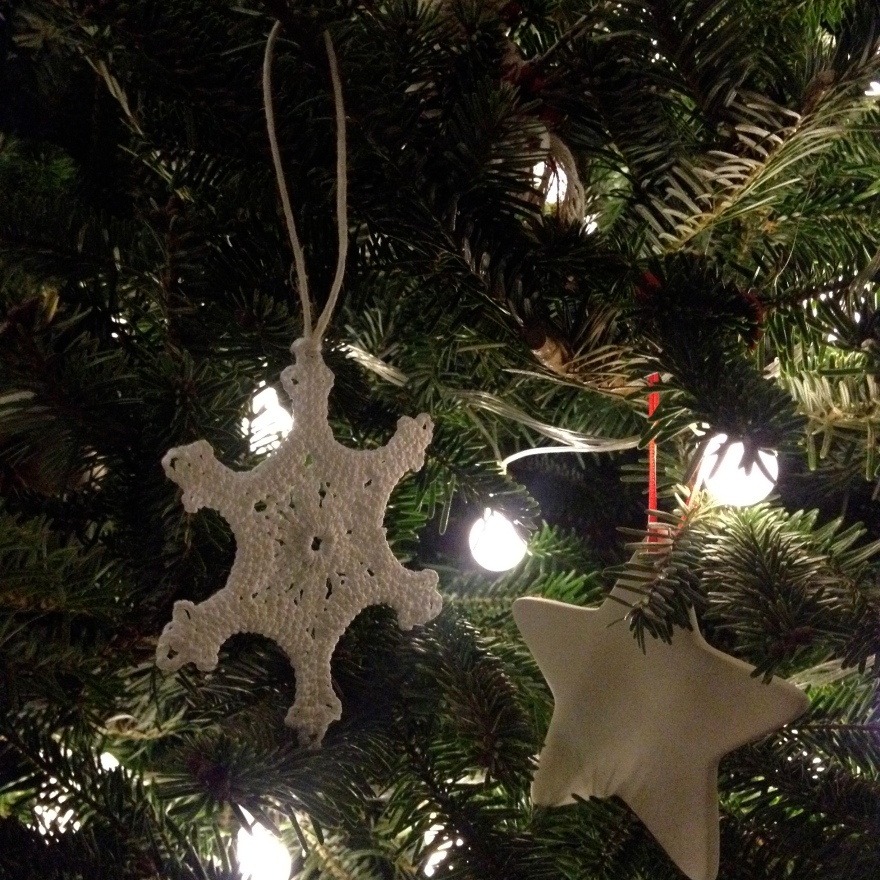
3rd and final crochet snowflake pattern

Here’s the last instalment!

Keep your hands busy making these last-minute christmas gifts and maybe it’ll stop you shovelling so much food into your face that you actually lose sleep to indigestion. It hasn’t worked for me, but it’s worth a go.

All three designs are available pre-made on my easy shop, click here for the link. They’ll arrive to you in a lovely paper bag stamped in gold with the milkbottleknits biz.

crochet snowflake christmas tree decoration

Wendy crochet snowflake christmas decoration free pattern

This is Spoked Susan:

Yarn:            Rico design essentials mercerised cotton, white

Hook:           2mm

(Different variations in yarn weight will produce a differently sized flake. Get a few different kinds – knock yourselves out!)


Abbreviations:

ch:            chain

dc:            double crochet

tr:            treble crochet (yarn around hook once to start)

dtr:           double treble crochet (yarn around hook twice to start)

ttr:           triple treble crochet (yarn around hook 3 times to start)

ss:            slip stitch


Chain 6 and join to form a ringcrochet chain ring


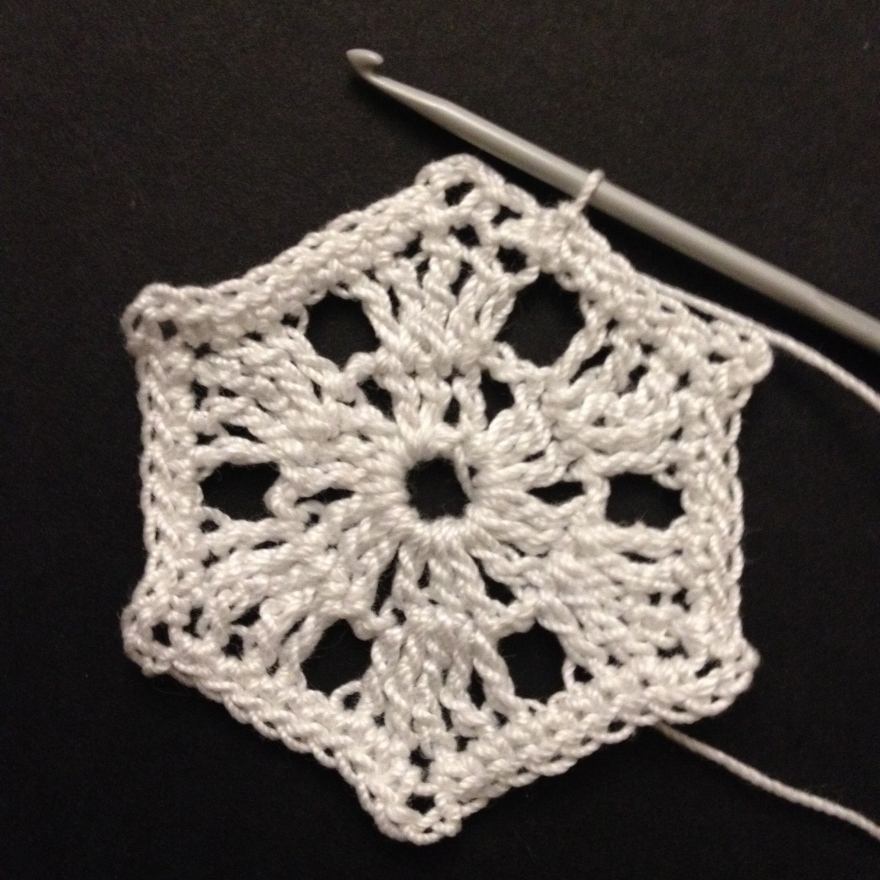
Round 1:            ch 2 (counts as a tr), (ch 1, 3 ttr into centre of ring, ch 1, 1 dtr into centre of ring) x5, ch 1, 3 ttr into centre of ring, ch 1, ss into top of first chain stemcrochet snowflake Susan round 1


R2:            ch1, dc in next 2 sts, (ch3, dc in next 6 sts) x5, ch 3, dc to start of round, ss into 1st dccrochet snowflake Susan free pattern round 2


R3:            ch1, dc into next 3 sts, (1 dc below 3 ch stem of last round, ch7, skip 2 ch, dc into next 5 ch sts, dc again below 3 ch stem of last round, dc into next 6 sts) x5, 1 dc below 3 ch stem of last round, ch7, skip 2 ch, dc into next 5 ch sts, dc again below 3 ch stem of last round, dc to end of round, ss into 1st dccrochet snowflake Susan round 3


R4:            ch 1, dc into next 4 sts, (dc into first 4 ch sts, ch 3, dc into same ch st as last dc, dc into final ch st, ch 4, dc into next 2 sts on opposite side of chain stem, ch 3, dc into same ch as last dc, dc into next 11 sts) x5crochet snowflake Susan round 3

crochet snowflake free pattern

Fasten off and sew in the yarn ends. To stiffen, soak for a few minutes in a solution of PVA glue and water. Cornflower and water also works very well but does make the snowflakes a bit soft and fluffy.

If you’d like to use a template to get your snowflake perfectly even and symmetrical print out a 6 pointed star, just 6 lines equally spaced will be fine, and dry each snowflake out on top of a template lining up the points exactly.

crochet snowflakes white cotton 3 designs


Crochet snowflakes, 2nd pattern

crochet snowflake christmas tree decoration

It’s taken me all week, but I’ve finally written up the second pattern! Busy times in the run up to christmas I guess – out every night and over estimating what I can achieve in terms of the festive crafts.

So here it is!…

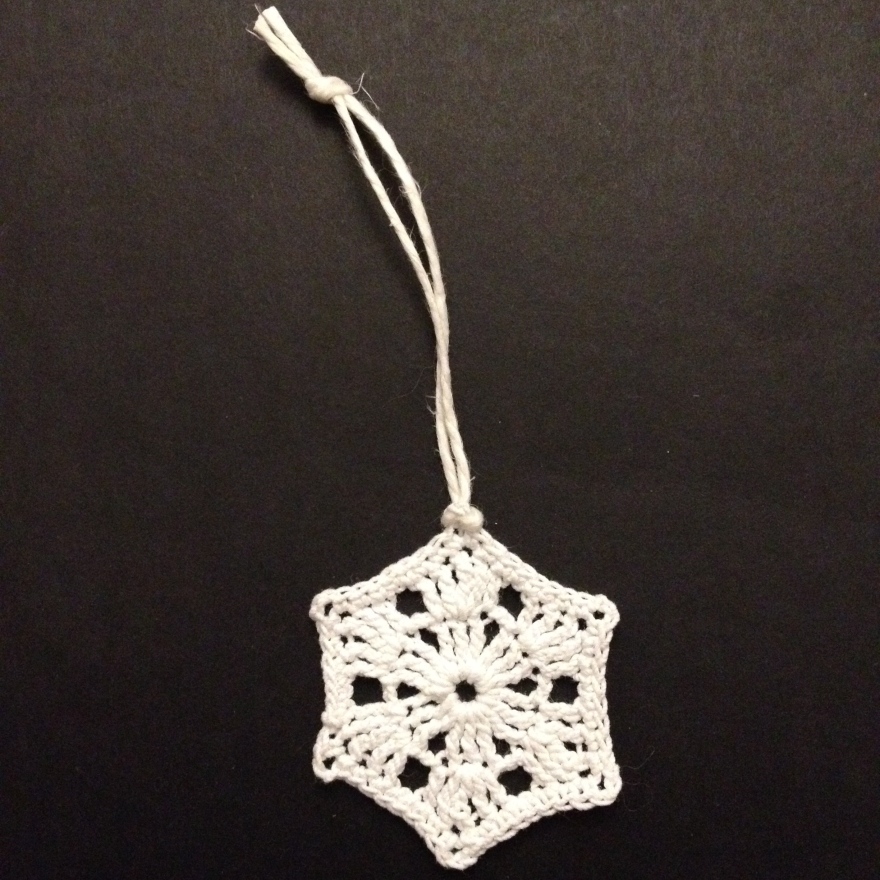
Long legged Lucy crochet snowflake free pattern

I’m gonna call this one Long Legged Lucy:

Yarn:            Rico design essentials mercerised cotton, white

Hook:           2mm

(Different variations in yarn weight will produce a differently sized flake. Get a few different kinds – knock yourselves out!)


Abbreviations:

ch:            chain

dc:            double crochet

tr:            treble crochet (yarn around hook once to start)

dtr:           double treble crochet (yarn around hook twice to start)

ttr:           triple treble crochet (yarn around hook 3 times to start)

ss:            slip stitch


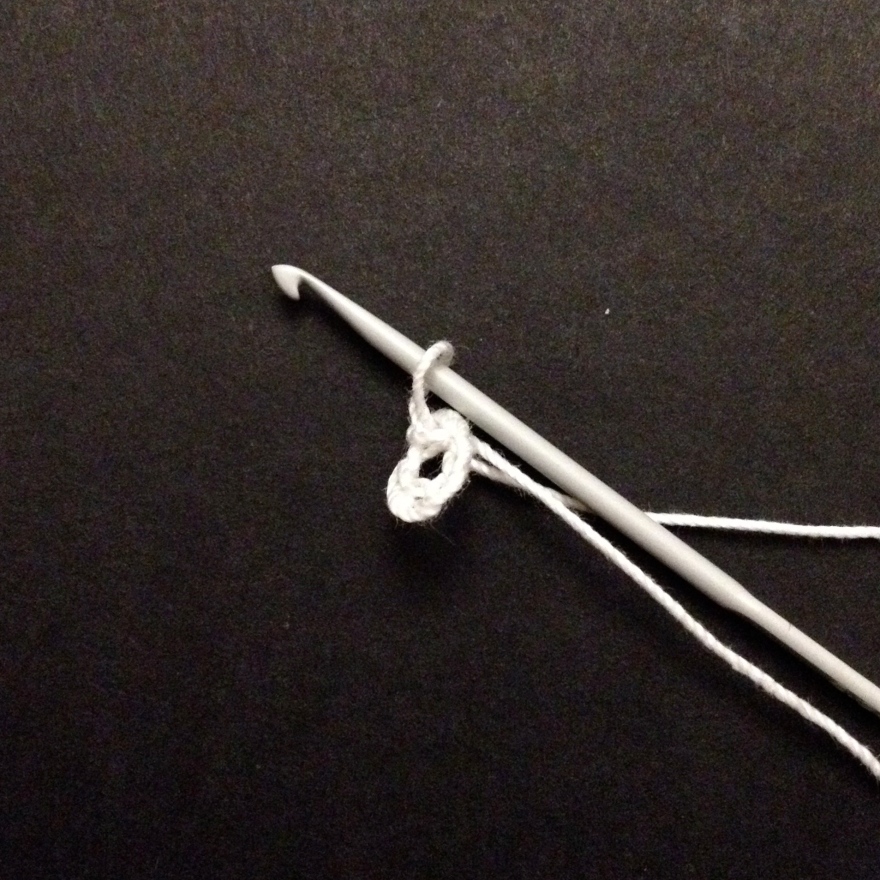
Chain 6 and join to form a ring

crochet chain ring to start


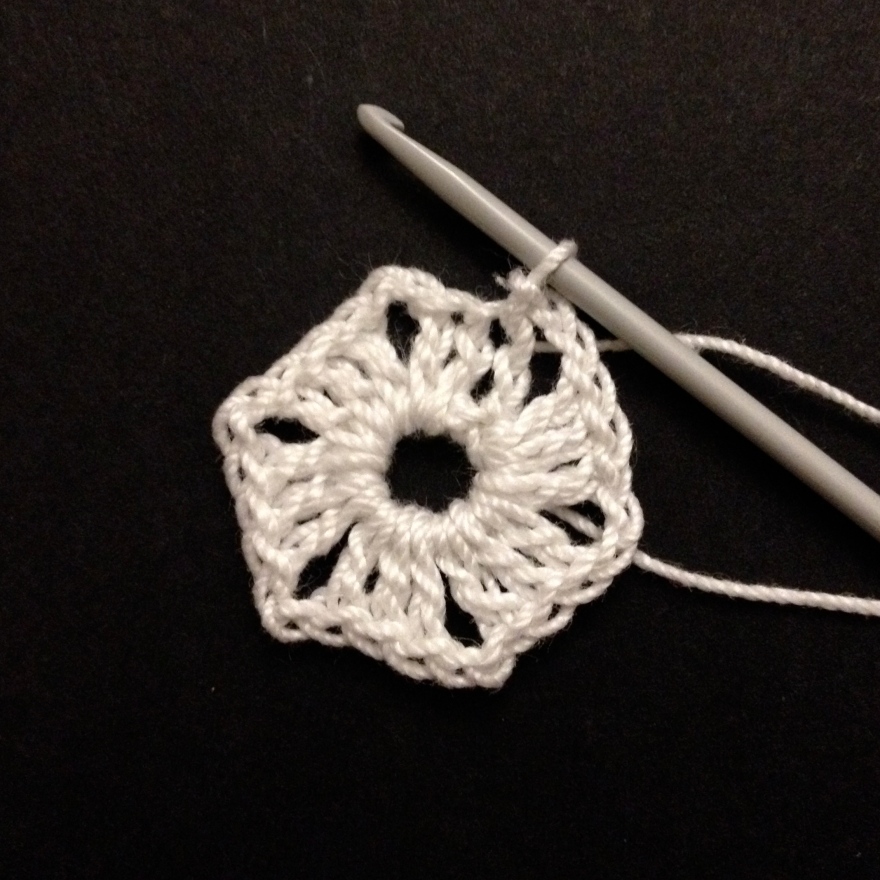
Round 1:            ch 2 (counts as a tr), (dtr into centre of ring, ttr into centre of ring, ch 10, skip first 2 chain stitches, dc into next 8 chain sts, dtr into centre of ring, 2 tr into centre of ring) x5, dtr into centre of ring, ttr into centre of ring, ch 10, skip first 2 chain stitches, dc into next 8 chain sts, dtr into centre of ring, tr into centre of ring, ss into top of first chain stem.

crochet snowflake round one


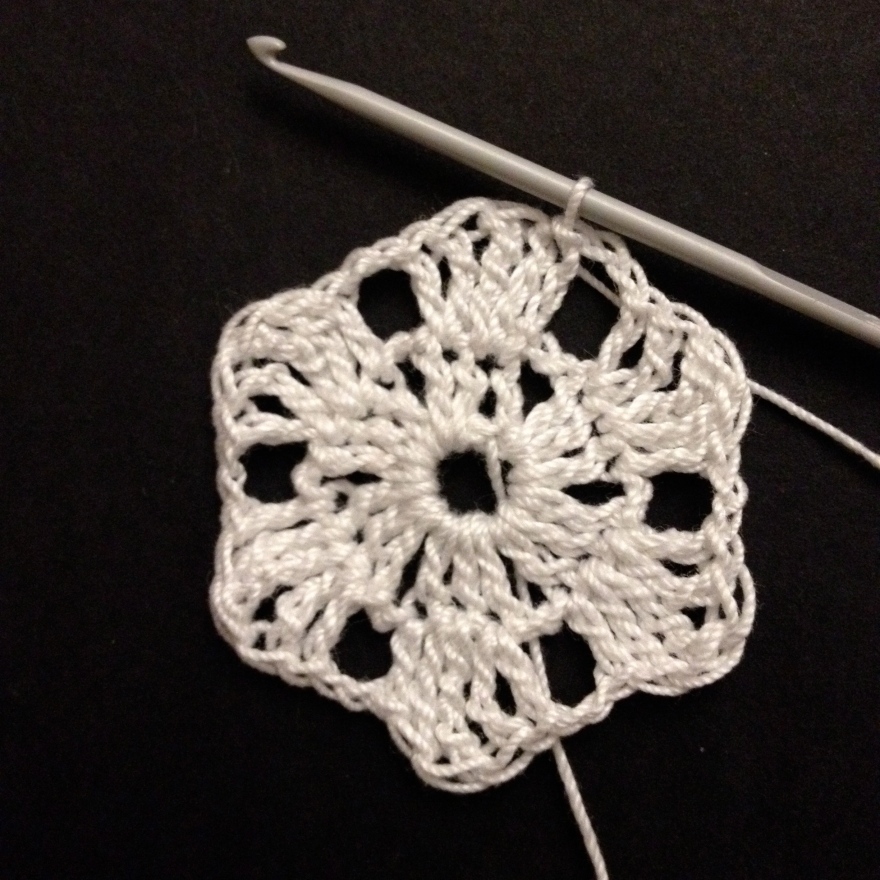
R2:            ch 1, dc into next 5 sts, (ch 3, dc into same st as last dc, dc into next 3 sts, ch 3, dc into same st as last dc, dc into next st, ch 3, dc into next 2 sts on opposite side of chain stem, ch 3, dc into same st as last dc, dc into next 3 sts, ch 3, dc into same st as last dc, dc into next 12 sts) x5, ch 3, dc into same st as last dc, dc into next 3 sts, ch 3, dc into same st as last dc, dc into next st, ch 3, dc into next 2 sts on opposite side of chain stem, ch 3, dc into same st as last dc, dc into next 3 sts, ch 3, dc into same st as last dc, dc to end of round, ss into 1st dc.

crochet snowflake round 2

close up, finished snowflake


Fasten off and sew in the yarn ends. To stiffen, soak for a few minutes in a solution of cornflower and water. PVA glue and water also works very well and makes the snowflakes less fluffy. I’m using both at the moment but I’m gradually leaning towards the PVA as the better finish.

If you’d like to use a template to get your snowflake perfectly even and symmetrical print out a 6 pointed star, just 6 lines equally spaced will be fine, and dry each snowflake out on top of a template lining up the points exactly.

I haven’t, because I live dangerously.

finished crochet snowflake christmas tree decoration

Crochet snowflakes, 1st of 3 patterns

I’ve had a book of 60 snowflake patterns for about ten years and I haven’t cracked it open so much as once. It’s survived a lot of moving house and has been saved from every cull because I’m always completely convinced that one year I will use it and the results will be amazing.

Last week I gave it go! And it’s crap. Makes no sense, complete gibberish. Probably crystal clear to an American, but that doesn’t help me.

So I sort of used the photos from said book to write my own patterns, and they’ve turned out pretty well! They’re very simple once you get familiar with the pattern and I can turn out a three or four in an evening now, sat in front of the TV.

I’ve written out the instructions for the smallest one, along with round-by-round development photos (because I find that with crochet it’s often really hard to know which stitch you should be putting your hook into at any given time and this way it should be easier for you to see which elements line up from each round).

The pattern below is for the simplest of the three designs pictured. The other two will follow in later posts and if you’re all really lucky I’ll even draw them out in diagram form :)

IMG_8495

First snowflake; let’s call him Basic Bob


Yarn:            Rico design essentials mercerised cotton, white

Hook:            2mm

(the top photo of the post shows two sizes of this snowflake, the yarn above will make the smaller one. Even a slight variation in yarn weight will produce a differently sized flake. Get a few different kinds – knock yourselves out!)


Abbreviations:

ch:            chain

dc:            double crochet

tr:            treble crochet (yarn around hook once to start)

dtr:           double treble crochet (yarn around hook twice to start)

ttr:           triple treble crochet (yarn around hook 3 times to start)

ss:            slip stitch


Chain 6 and join to form a ring

IMG_8485


Round 1:            ch 2 (counts as a tr), 2 tr into centre of ring, (ch 2, 3 tr into centre of ring) x5, ch 2, ss into top of first chain stem.

IMG_8488


R2:            2 ch (counts as a tr), 1 dtr & 1 ttr into next st (the one which sits between the first two treble stitches in the cluster of 3 in the round below), 1 dtr & 1 tr into next st, (ch 2, skip 2 sts, 1 tr into next st, 1 dtr & 1 ttr into next st, 1 dtr & 1 tr into next st) x5, ch 2, ss into top of first chain stem.

IMG_8491


R3:            ch 1, dc into each of the next 2 sts, (ch3, dc into the same stitch as previous dc, dc into each of the next 7 sts) x5, ch3, dc into the same stitch as previous dc, dc to start of round, ss into 1st dc.

IMG_8492


Fasten off and sew in the yarn ends. To stiffen, soak for a few minutes in a solution of cornflower and water. I don’t think it’s exact science, but for reference I used a quarter cup of cornflour with a half cup of water and that produced a soft but flat and set snowflake. Pull into shape when wet and leave to dry on a tea towel or something similar.

I haven’t used a template because it seems to me that they look plenty nice enough just shaped by eye! But the perfectionists among you might want to print out a 6 pointed star, just 6 lines equally spaced will be fine, and dry each star out on top of a template lining up the points exactly. Then you will be able to sleep at night knowing that, should Santa bring a protractor down the chimney on Christmas eve, you will not be getting a piece of coal in your stocking as a punishment for sloppy angle making.


(PS. I haven’t gotten the box of Christmas crap out yet, so apologies for the lack of festive backdrop in today’s photography! Tree will arrive on Wednesday, so I promise I’ll work on it.)

Teaching beginners to crochet granny squares

Back in November my I taught a class of crochet at the Royal College of Physicians. My talented mother gave a knitting class too and we all made squares to be mingled together in a blanket for charity. This had mixed results.

For a start, I had heavily underestimated how much one to one attention grown adults would need! Not to mention how many fifteen people actually are – it’s quite a few. Thankfully, for both classes we had my mum and I and our friend Dawn, of RCP librarian fame, to help and demonstrate and mingle. Even then it quickly became clear that when Dawn had previously said ‘aren’t granny squares going to be too hard for people who have no idea what they’re doing?’ I should have said ‘yes, yes they are, let’s not do that then.’ But I didn’t: I genuinely thought they were easy and I was a bit wrong. People did struggle.

But they went home with a handout I had lovingly made (which is now attached here in this blog for your reference and enjoyment!) and indeed lots of completed squares have been returned, looking more or less as intended. Presumably the result of people chucking my handout asunder and looking something better up on youTube, but who cares, I feel like I’ve achieved something.

All the squares, knit and crochet, too big and too small, holey and weird, will be joined into one big, blobby blanket and then inflicted on a local charity. We haven’t decided which yet, I guess the general state of it will decide if it’s destined for the nursing home, the RSPCA or round the back of the bins for the foxes. It may take a little while to complete, I’ll post a photo when it’s done.

Having not taught anything since I started my ill-fated MA in 2007 and gave a few illustration classes to foundation students, I remembered how much I actually enjoy it! I think I’d really love to run some craft classes or get involved with university lecturing. Maybe when I feel braver about flying the nest of my super-cushy day job I’ll actually do those things, while bearing in mind that when people say they’re complete beginners they probably mean it and should be catered for accordingly.

5 round granny square

Tattooed unicorn and jacobean crewelwork day 3

Made some more progress in the third day of the certificate course at the RSN. Learnt two new stitches – heavy chain…

heavy chain embroidery stitch


(unfortunately hard to see in the dark colour!)

and raised stem band…

raised stem band embroidery stitch


raised stem band crewel embroidery

So currently the Tree of Life is up to this stage…

RSN jacobean crewelwork tree of life - day 3

Still a very long way to go! And a long list of homework to tackle before next month.


And in the mean time I have been practicing my embroidery skills on the unicorn I crocheted recently. I think he looks good for it! The back stitch I started out using turned out to be far too thin, I needed the stronger stem stitch to make a decent line. Would also like to make him a little shirt with rolled up sleeves.

If you’re interested in making your own, I used the Toft Alpaca pattern for the zebra, from Edwards Menagerie, and then added my own style of horn and mane. Their pattern base is great and very versatile – really easy to personalise into pretty much any creature you like.

embroidered tattoo unicorn - left embroidered tattooed unicorn - front embroidery tattooed unicorn - right

I feel like you don’t see enough masculine unicorns. Maybe that’s where they went wrong.

Now on Etsy! :D

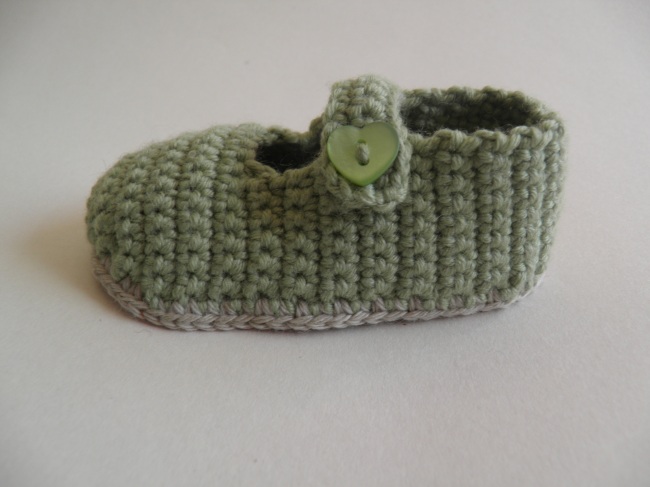
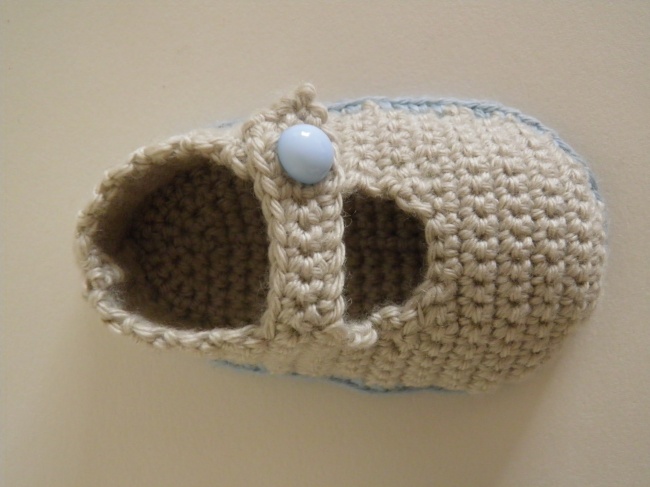
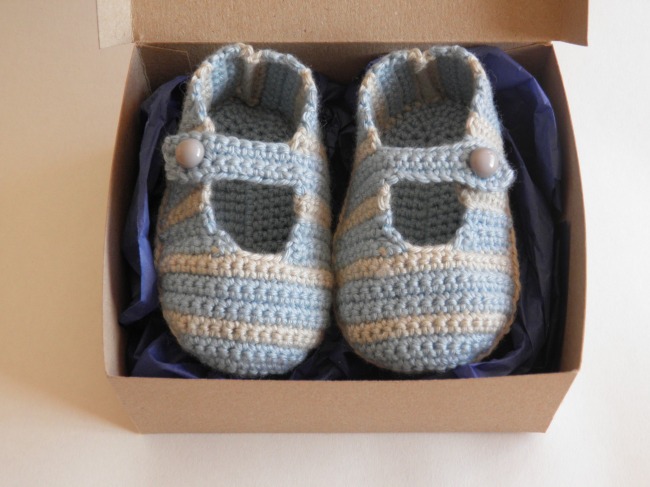
I’ve achieved my New Years’ resolution and taken my biz to Etsy. Have made a shop and put 3 pairs of baby shoes up there. It’s a bit of a learning curve, I don’t even think I expect to sell them but at least it’s a start! They are super cute, and make lovely presents, but’s so hard to decide on a reasonable price for things. Nonetheless, they’re up there, £20 a pair, and we’ll see what happens!

Take a look.

Image

Image

Image


Soon I’d like to put some cushions on too. I’ve been salvaging cut up samples from work to recycle into knitted cushion covers, which are looking pretty nice! Although some do need buttons put on to stop them opening up.

Might end up being a very random shop, I guess that should be a concern too, but I’m kinda interested to just put a whole heap of different things out there and see what floats. I don’t suppose I can retire on the proceeds of my crafting prowess, but it’s worth a bash.