Blackwork: RSN Embroidery Certificate Course, module 2

My last class marked the halfway point on this module. Four down and four to go, but I can’t say it looks like it’s half done.

modern blackwork embroidery portrait

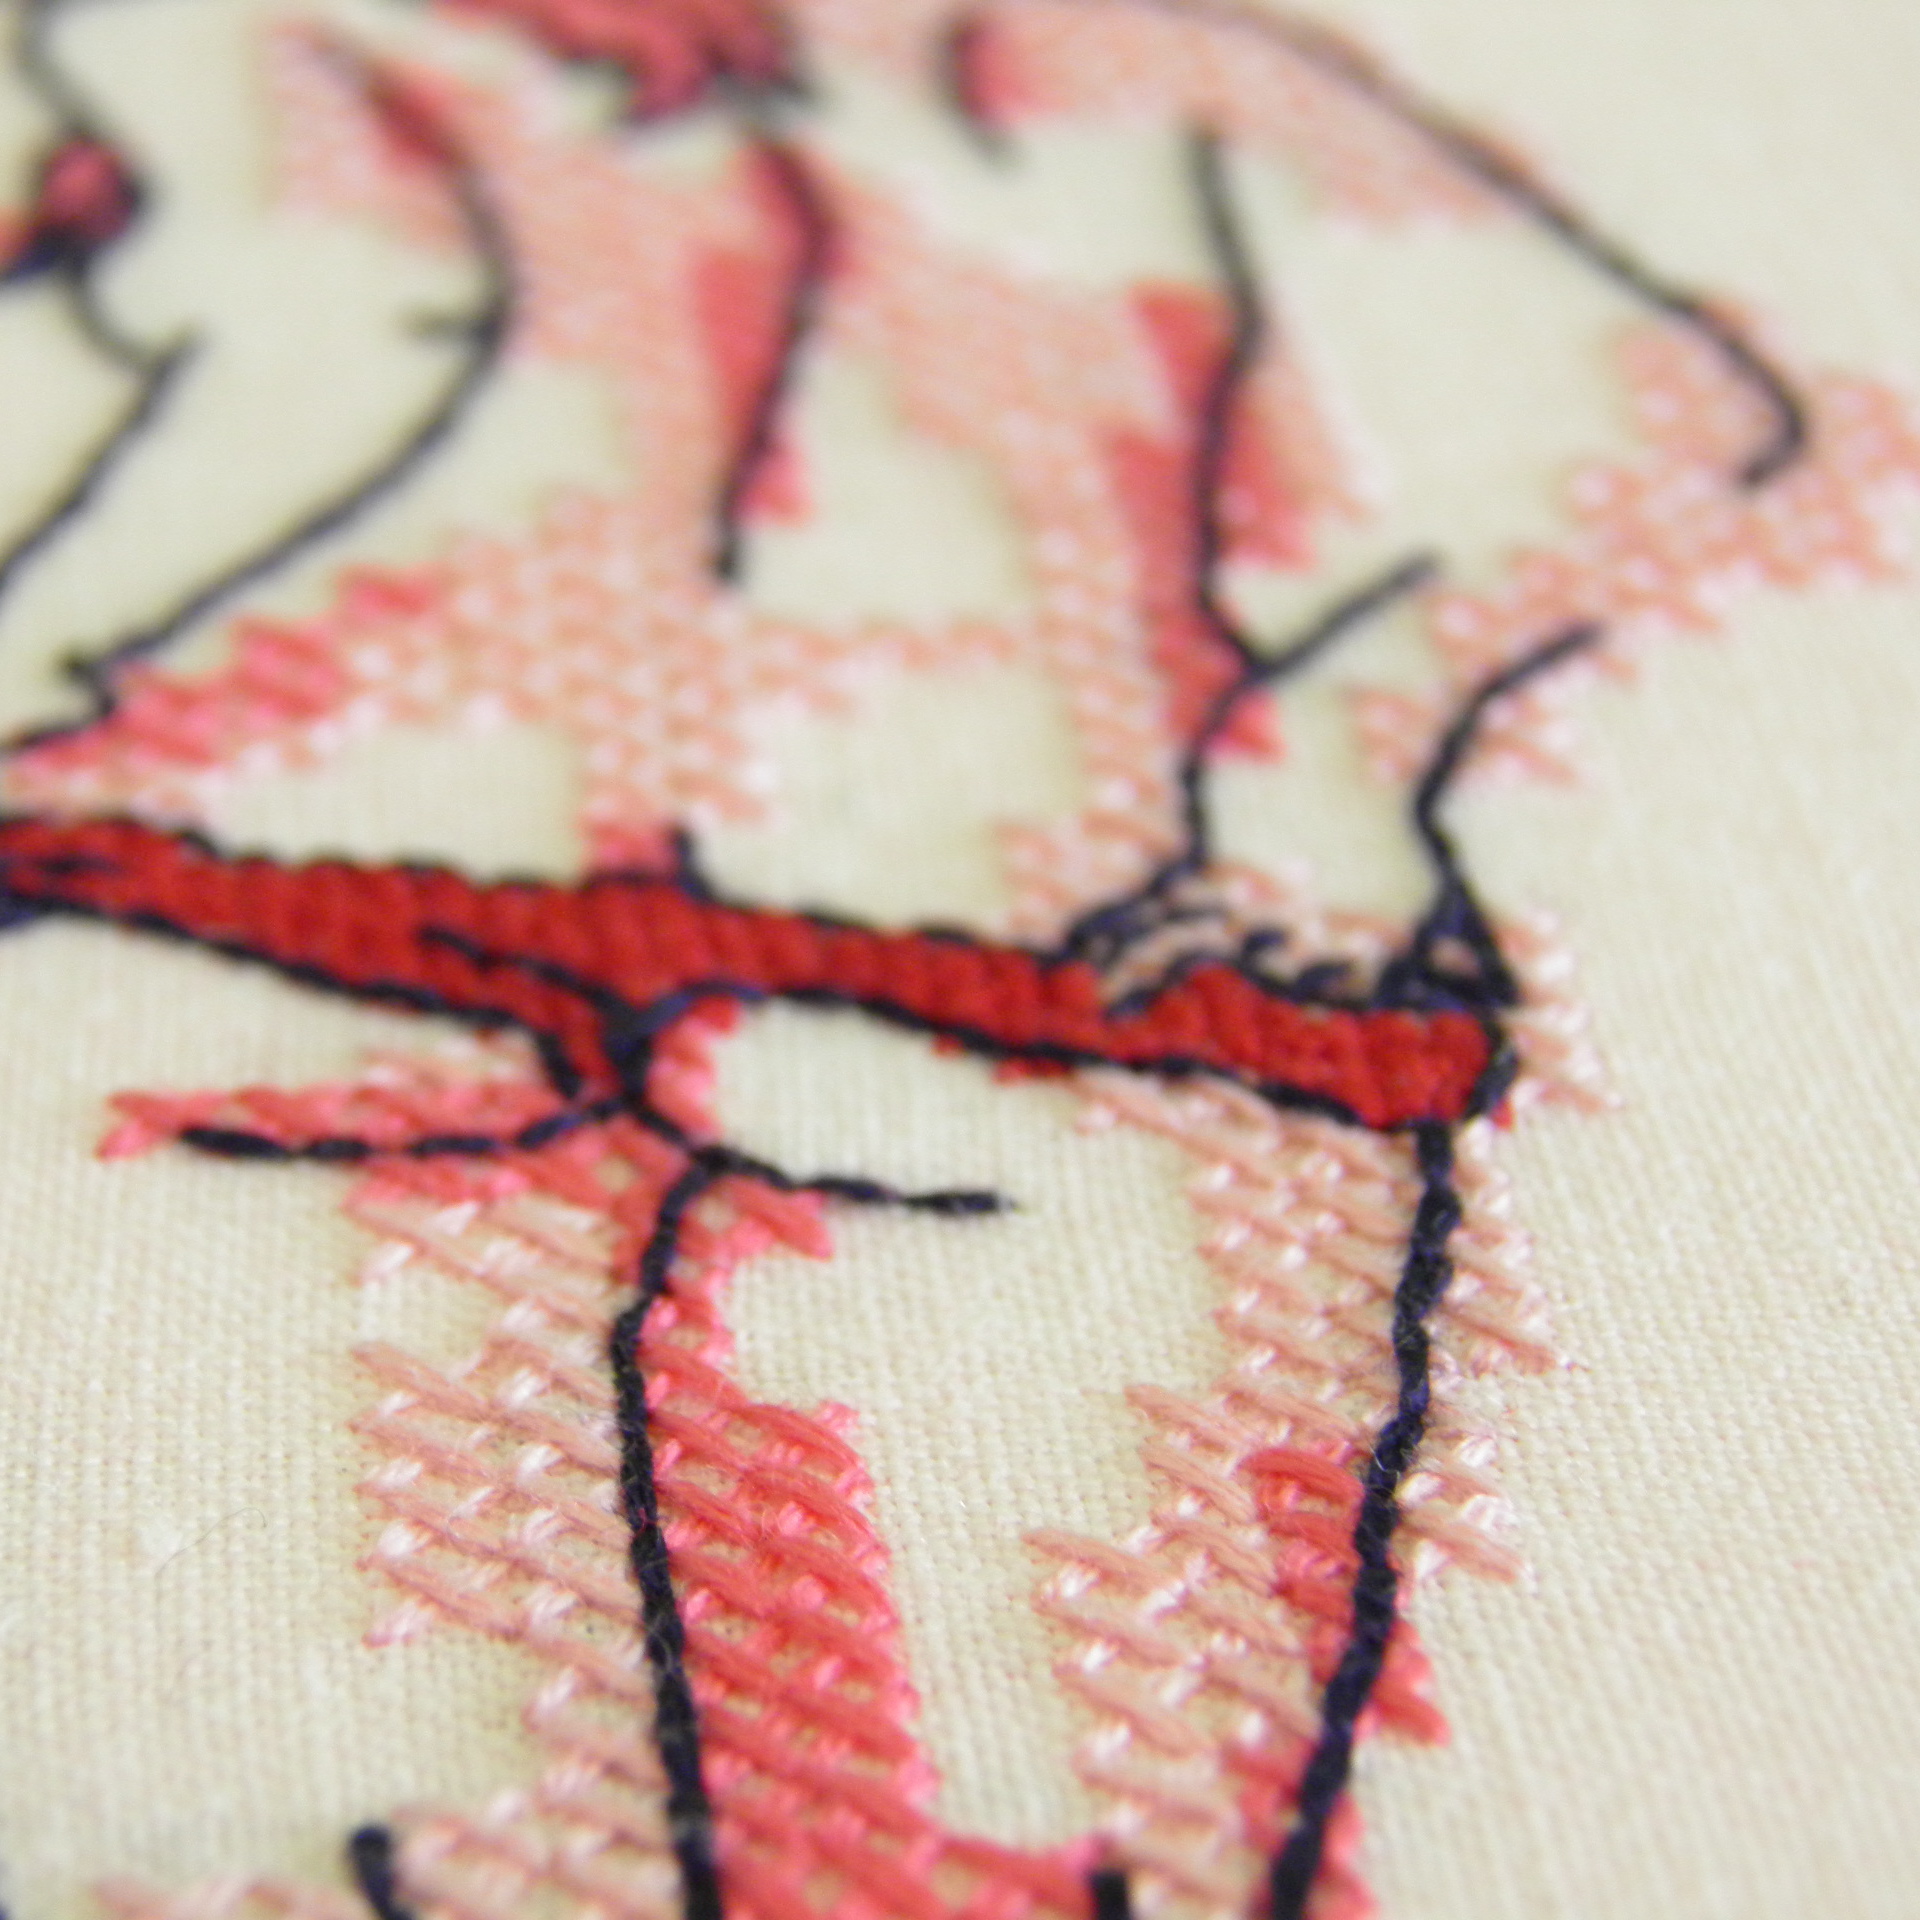
The shading is really daunting. The two elements of thickness of thread and density of stitch pattern have to work simultaneously to make the overall shade move from dark to light and vice- versa. It feels like a strange combination of calculation and instinct. At the beginning I experimented with the threads and set out a key for which looked darker than the next, setting them on a scale from 0-8. I traced my design into blocked out areas of shade and allocated each area a value corresponding to my scale, so that similar tones would look even across the whole piece. At which point I felt that this would be manageable, like a paint by numbers…

Blackwork embroidery shading plan

But I have to use around 5 different stitch patterns within this design, some more open than others. So even though a 4 on my scale may mean using 3 strands of Anchor cotton, that is going to look different in each of my stitches and 3 strands of cotton on the figures’ legs may look much darker from a distance than the same thread on the wall behind her. To compensate for this I need to adapt the stitch pattern to either add or remove some stitches and adjust the density of the stitch. Or, if I want to keep the stitch the same for design purposes, I’ll need to deviate from the key and use a different thread to achieve the right shade.

IMG_8823

The whole thing is a balancing act, constantly juggling stitch with thread and comparing the developing work with the original image. I’m paranoid about making the background too dark or too light, throwing in the blackest black where it should be a mid tone and leaving myself with no darker tone for the shoes or the gloves.

IMG_8888

Take the area that I’ve worked on today for example: the upper left side of the background where the light moves from bright to very dark in the shadow of the models’ arm. The changes in tone are so varied! and in trying to incorporate every little undulation in shade I’m not only losing shape, but losing the relationship between the arm shadow and the top right corner of the image. Is this a problem? I haven’t got a clue.

blackwork embroidery shading backstitch pattern

But, as important as it is to follow the photograph, I also want to have the freedom to decide what’s best for the embroidery as a stand-alone piece. After all, once it’s done no-one will view the two together, and the embroidery has to work as a realistic and well composed image. It’s inevitably going to be stylised to a certain extent – it’s a textile piece and not a photograph – but it has to make sense and if the lighting in the image is illogical then the brain of the viewer will be quick to flag it up.

IMG_8872

And to add to the difficulties, winters limited daylight hours are putting the pressure on! I set up shop in front of our big bedroom windows and door to work a few afternoon hours this weekend, but before long the natural light goes and my harsh lightbulbs don’t cut the mustard.

Stuff to do and a desk to do it at.

My table is clear and usable for the first time in MONTHS! I am sitting at my computer like a civilised human, not scrunched over it on my lap like the last picture in a comedy ‘evolution of man’ illustration. Lucy moved in with me nearly a month ago :D and although the co-habiting is lovely, my tiny flat has had an onslaught of possessions that has been tricky to work through. But last night the in-laws came for a celebratory housewarming paella so we really had to get a grip and make the place nice. The evening was lovely and they brought us many delightful gifts (including a drill set which we are crazy excited about) but the best part for me is probably the re-discovery of my dining table and today’s prospect of a whole day to work at it! I am starting with a breakfast of some toast made from the roasted garlic loaf I made yesterday and writing this little update. breakfast I’m keen to get the sewing machine out and make more cushions. I have a heap of unloved knitwear brought home from work. I have sold some cushions from the Etsy shop! Admittedly, only to my adorable friend Pete, but a sale is a sale. Plus I’ve had some interest from my Lucy’s parents who would consider selling some in their fancy interiors store, so I should really up my game for them and make a few with proper labels and fastenings. I’m thinking it would be good to embroider labels with ‘Milkbottle’ and some fabric/care info, I just need to find the best way to do that quickly and simply. Embroidery-wise I’m pushing to get this guy finished: art macabre cross stitch The cross-stitch of Raven Rouge at the Art Macabre death drawing session from ages ago. The lovely lady who is the subject of this picture has shown an interest in having it when it’s done, so that’s giving me the incentive I needed to actually crack on! I’d also like to get the girls-in-knickers embroideries framed up today. I’ve acquired two vintage hoops (thanks to a recent bout of ebay addiction) which I think will be perfect. I’ll put these up for sale too, although I’ve no idea how much for yet. girls in knickers embroideries And I signed up for the certificate course at the Royal School of Needlework! I’m so excited. I’ll be starting Jacobean Crewelwork at the end of June. Going to have a nice day out to Hatfield House to get some Jacobean inspiration. The assessment criteria are pretty strict on this module, holding me very close to a traditional tree of life design. No room for naughtiness. Not that Jacobean is the most inspiring medium for subversive subject matter. It’s the silk shading module that is most tempting – I desperately want to stitch pubic hair while everyone else is doing kittens and pansies. Lucy’s Christmas jumper is coming on nicely: I’m up to the fair-isle section on the front now. Those two massive balls of yarn which I got at Ally Pally last year are stretching really far. Once I’ve finished both the body panels I’ll weigh the green again and split what’s left into two balls, and that will pretty much dictate the design of the sleeve. Lots of green will mean the possibility of more detailed fair isle and a shorter white section at the top, only a little will mean a short green cuff with a simple design to transfer to the white. It’s fun to make this up as I go along! Just need to make sure that the angle at the top of the sleeve runs smoothly into the shoulder and we’ll be golden :) fair isle knitted jumper And just for a little dose of cuteness I’ve been making these baby socks too: cable baby socks Sometime I feel super frustrated with myself for mot getting much done, but actually when I look at things laid out like this I am pretty happy with what I manage to do. If only I didn’t have to go to work!

Christmas present progress

My lovely friend Lauren has been a big fan of the embroideries I’ve been doing lately, and she’s requested one of her own for Christmas. So this weekend I got the fear and figured I should get a shift on with that.
So here’s the work so far. I’m quite pleased, although I wish I’d done it on a more tightly woven fabric because this is getting quite distorted and I’m a bit worried about trying to steam it flat! Her face is nice though, and the hands are less terrible than they could be. I’m sewing this in Appletons crewel wools, which I think I enjoy more than the usual embroidery floss, and trying to get tones in without any background shading. Fingers crossed she’ll end up as a nice piece.

20131202-112133.jpg

Pink Hair, Red Knickers embroidery

Image

I’m pleased with how this turned out :) I traced out the basics of a photo onto graph paper and added the block colour. I started out following it literally as a chart in a normal scale cross stitch, but it just looked terrible, far too tiny. So I started over, with bigger crosses and following the chart as a guideline. Left the pants until last, that was a bit of rookie error, didn’t have a clue how to stitch them. Ended up with half size crosses, which were a right pain but I’m pleased with the effect. It’s not easy to stitch on top of a regular cross though, as and when I start the next one I’ll try to leave a space. I’m also a little disappointed with the hands, the mitten hand leaves a lot to the imagination and the other side has a very lumpy finger – will crack it next time.

So I want to take this and make prints, although I’m not really sure how to go about that. Scanning it was not a sucess. Maybe the best way is to take a photo and retouch it in photoshop if needs be? I’d also like to do others in the same style but various colourways, I have the same fabric in blue and mint so they’d be a nice starting point. Just need to look through some more pictures of scantily clad girls. Tough life.