It’s taken me all week, but I’ve finally written up the second pattern! Busy times in the run up to christmas I guess – out every night and over estimating what I can achieve in terms of the festive crafts.
So here it is!…

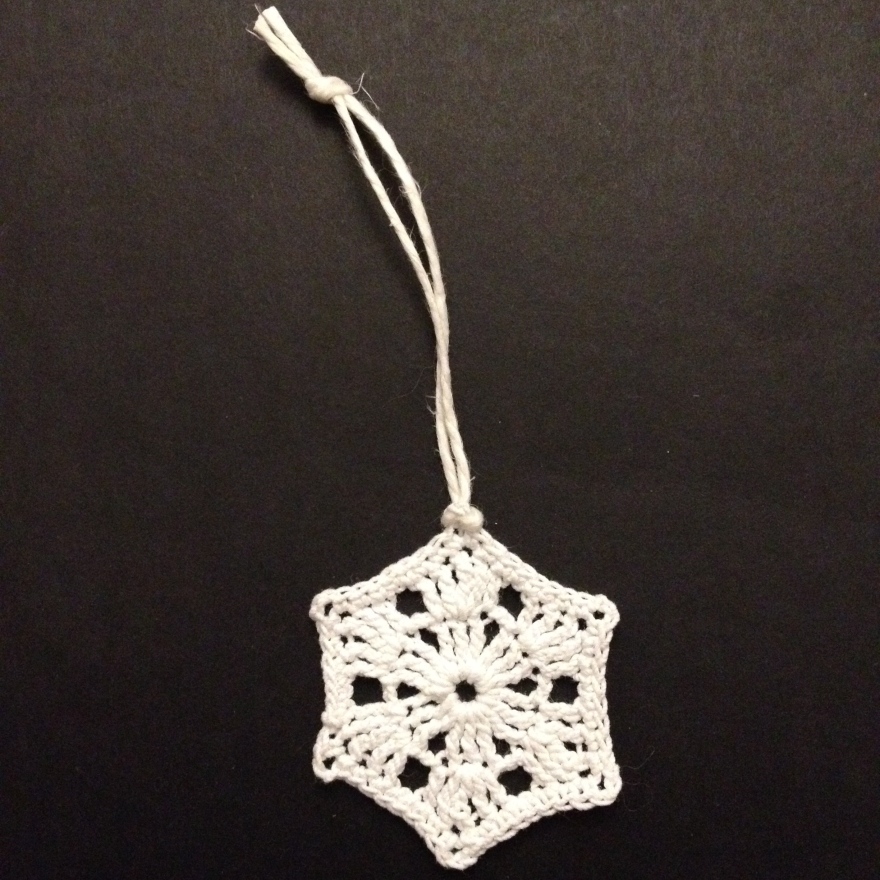
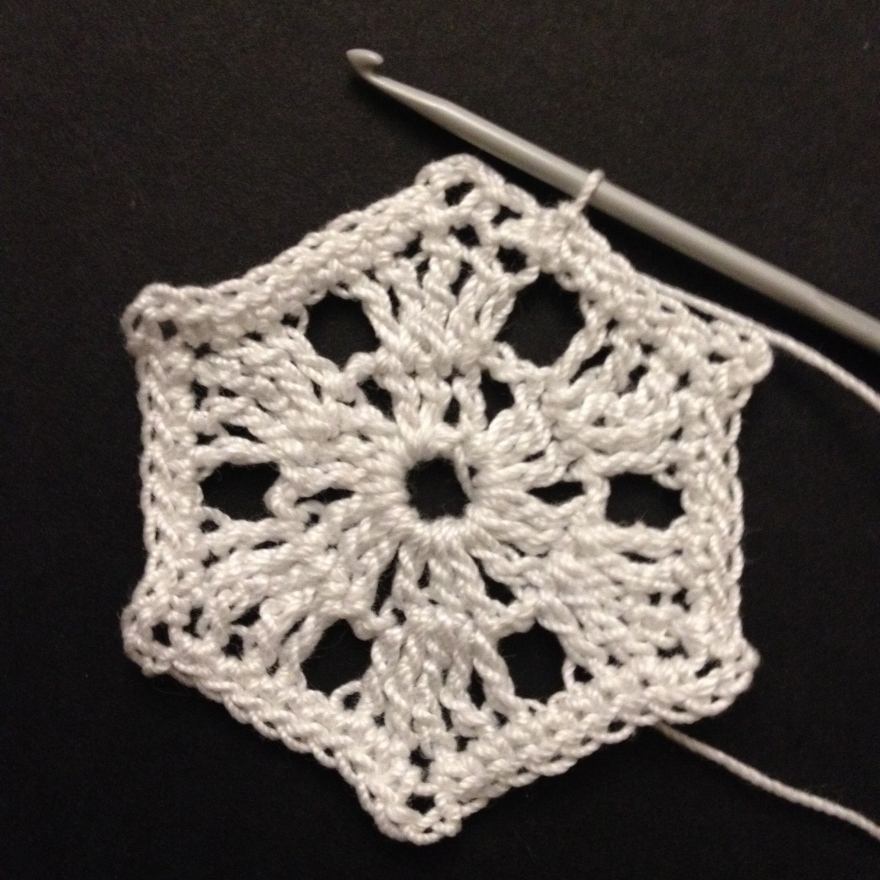
I’m gonna call this one Long Legged Lucy:
Yarn: Rico design essentials mercerised cotton, white
Hook: 2mm
(Different variations in yarn weight will produce a differently sized flake. Get a few different kinds – knock yourselves out!)
Abbreviations:
ch: chain
dc: double crochet
tr: treble crochet (yarn around hook once to start)
dtr: double treble crochet (yarn around hook twice to start)
ttr: triple treble crochet (yarn around hook 3 times to start)
ss: slip stitch
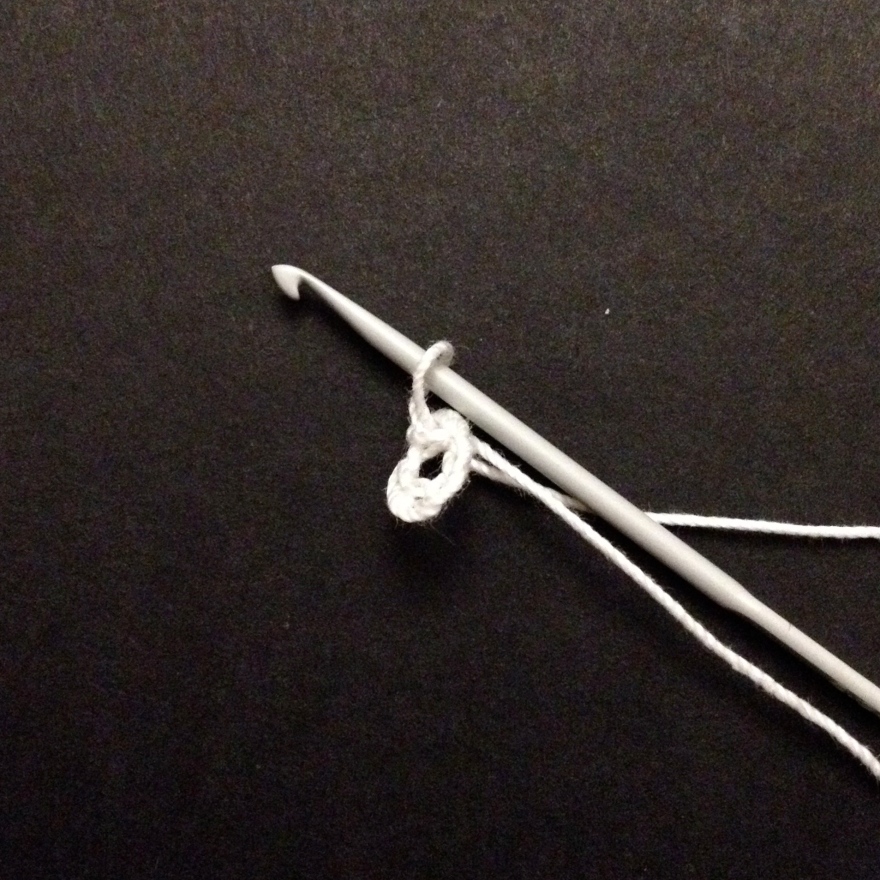
Chain 6 and join to form a ring

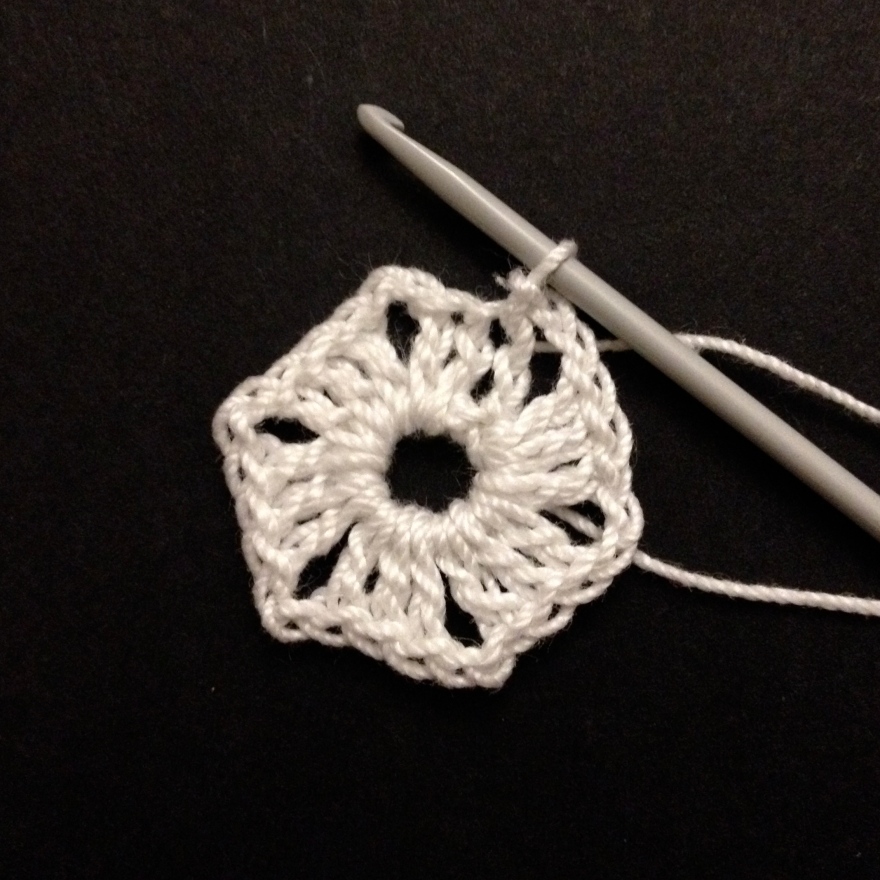
Round 1: ch 2 (counts as a tr), (dtr into centre of ring, ttr into centre of ring, ch 10, skip first 2 chain stitches, dc into next 8 chain sts, dtr into centre of ring, 2 tr into centre of ring) x5, dtr into centre of ring, ttr into centre of ring, ch 10, skip first 2 chain stitches, dc into next 8 chain sts, dtr into centre of ring, tr into centre of ring, ss into top of first chain stem.

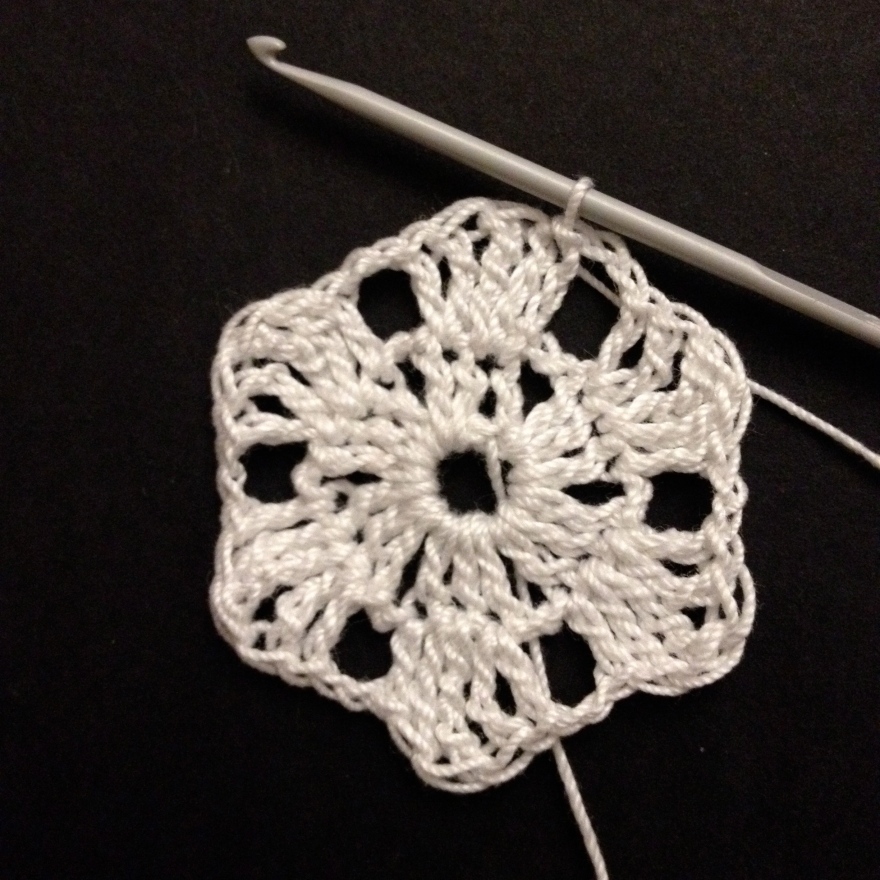
R2: ch 1, dc into next 5 sts, (ch 3, dc into same st as last dc, dc into next 3 sts, ch 3, dc into same st as last dc, dc into next st, ch 3, dc into next 2 sts on opposite side of chain stem, ch 3, dc into same st as last dc, dc into next 3 sts, ch 3, dc into same st as last dc, dc into next 12 sts) x5, ch 3, dc into same st as last dc, dc into next 3 sts, ch 3, dc into same st as last dc, dc into next st, ch 3, dc into next 2 sts on opposite side of chain stem, ch 3, dc into same st as last dc, dc into next 3 sts, ch 3, dc into same st as last dc, dc to end of round, ss into 1st dc.


Fasten off and sew in the yarn ends. To stiffen, soak for a few minutes in a solution of cornflower and water. PVA glue and water also works very well and makes the snowflakes less fluffy. I’m using both at the moment but I’m gradually leaning towards the PVA as the better finish.
If you’d like to use a template to get your snowflake perfectly even and symmetrical print out a 6 pointed star, just 6 lines equally spaced will be fine, and dry each snowflake out on top of a template lining up the points exactly.
I haven’t, because I live dangerously.